Table of Contents
Start your free trial.
Unlock Better Testing Workflows in Kubernetes — Try Testkube for Free

Unlock Better Testing Workflows in Kubernetes — Try Testkube for Free


Table of Contents
Executive Summary
Testkube is a Kubernetes-native testing framework for Testers and Developers that allows you to automate the executions of your existing testing tools inside your Kubernetes cluster, removing all the complexity from your CI/CD/GitOps pipelines.
This article delves deeper into exposing hardware components in Kubernetes and creating tests for them. Initially, I’ll guide you through setting up a Kubernetes cluster with an NVIDIA GPU node and installing Testkube. Subsequently, we’ll develop a TestWorkflow that allocates a GPU resource and executes a basic CUDA test.
Advertising hardware components in Kubernetes
Kubernetes allows users to advertise hardware components and make them accessible to Pods by leveraging the Device Plugins framework.
The Device Plugins framework enables users to implement the Registration gRPC API, provided by the kubelet, to make hardware components accessible to Pods via the resources block.
Users can then expose hardware components like GPUs, high-performance NICs, FPGAs, InfiniBand adapters…
Here are a couple of existing Device Plugin implementations:
- NVIDIA Device Plugin — allows users to expose NVIDIA GPUs in a Kubernetes cluster
- RDMA Device Plugin — allows users to expose RDMA NIC in a Kubernetes cluster
Example Pod which requests a custom hardware component:
apiVersion: v1
kind: Pod
metadata:
  name: demo-pod
spec:
  containers:
    - name: demo-container-1
      image: registry.k8s.io/pause:2.0
      resources:
        limits:
          hardware-vendor.example/foo: 2
#
# This Pod needs 2 of the hardware-vendor.example/foo devices
# and can only schedule onto a Node that's able to satisfy
# that need.
#
# If the Node has more than 2 of those devices available, the
# remainder would be available for other Pods to use.
Testing hardware components using Testkube
In this demo, we will create a Kubernetes cluster that contains a NVIDIA GPU card and a test using Testkube which uses CUDA to calculate matrixes.
If done manually, the process would involve several steps:
- Create a Kubernetes cluster
- Add a node that contains a GPU card
- Install NVIDIA drivers on the node
- Install the NVIDIA Device Plugin
Fortunately, Google Cloud Platform (GCP) offers the GKE Autopilot feature, a special mode within Google Kubernetes Engine where Google manages the entire cluster configuration — nodes, scaling, security, and more. This ensures that when we create a cluster and deploy workloads, GCP supplies nodes already equipped with all the necessary tools.
The test will utilize Testkube’s latest feature, TestWorkflows, which provides a new and powerful method for defining tests.
Prerequisites
- GCP account — an account can be created by logging in at console.cloud.google.com
- Testkube Pro account — start a free trial at app.testkube.io
- Testkube CLI — CLI for interacting with Testkube API
- gcloud — CLI for interacting with GCP API
- kubectl — CLI for interacting with Kubernetes API
- Helm — package manager for Kubernetes
Creating a Kubernetes cluster on GCP
After logging in to the GCP Console, head over to the Google Kubernetes Engine service (you might need to enable it first).
After we open the GKE service, we click on the CREATE button to open the cluster creation wizard and there we select the Autopilot mode.


Let’s give it a name and select a region. I will name my cluster testkube-hardware-test-cluster and use the us-east1 region. We proceed, we don’t want fleet registration so we proceed to the next screen, where we specify which network we want to use, for simplicity, let’s use the default settings and proceed also and click our way until we click the CREATE CLUSTER button.
Approximately 10 minutes later, our cluster should be ready. Before accessing it, we must update our kube config with the connection information for the new cluster.

Before we access it, we need to update our kube config to add connection info for the new cluster. Let’s click on the cluster, after which it will open the cluster info screen, and there we click on the CONNECT button to get the command that will update our kube config.

The connection command will look like:
gcloud container clusters get-credentials CLUSTER_NAME --region REGION --project GCP_PROJECTLet’s run the command in our terminal. On a successful run, we should get a log similar to:
Fetching cluster endpoint and auth data
kubeconfig entry generated for testkube-hardware-test-cluster.
This cluster initially does not have nodes. The first node will be created when we create our first workload.
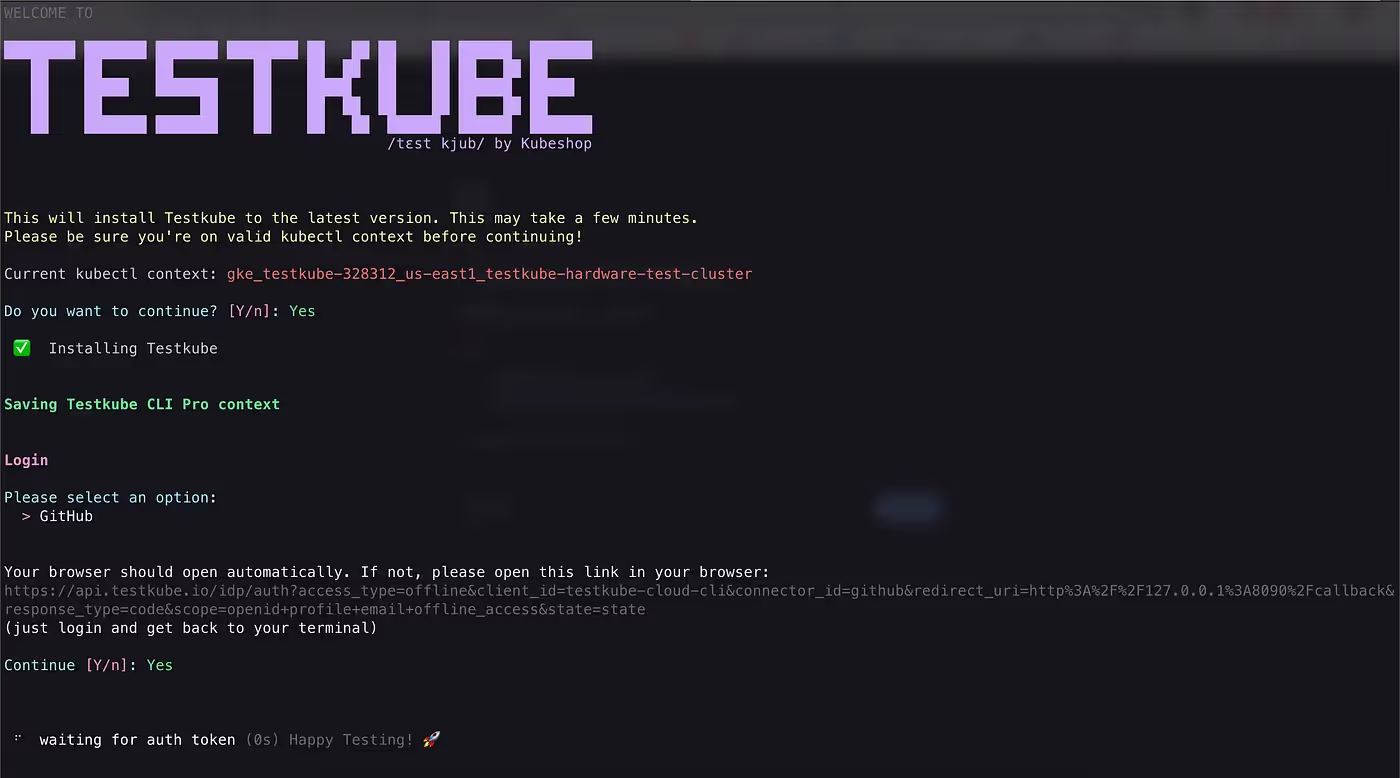
Installing Testkube Pro
Now we head to app.testkube.io and sign up to get your Testkube Pro account. We can sign up with a GitHub or GitLab account.

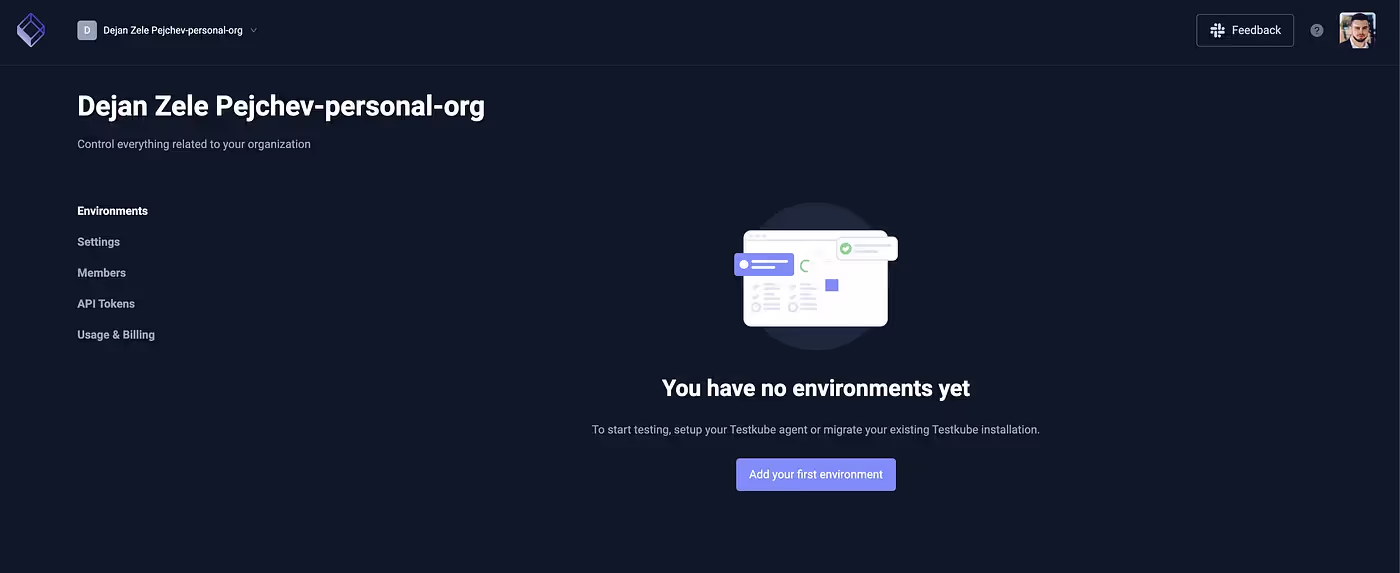
After signing in, we get a default Organization. Testkube Pro has the concept of Organizations and Environments. An Organization can contain multiple Environments, and an Environment typically represents a single Kubernetes cluster. Now we create an Environment by clicking on the Add your first environment button.
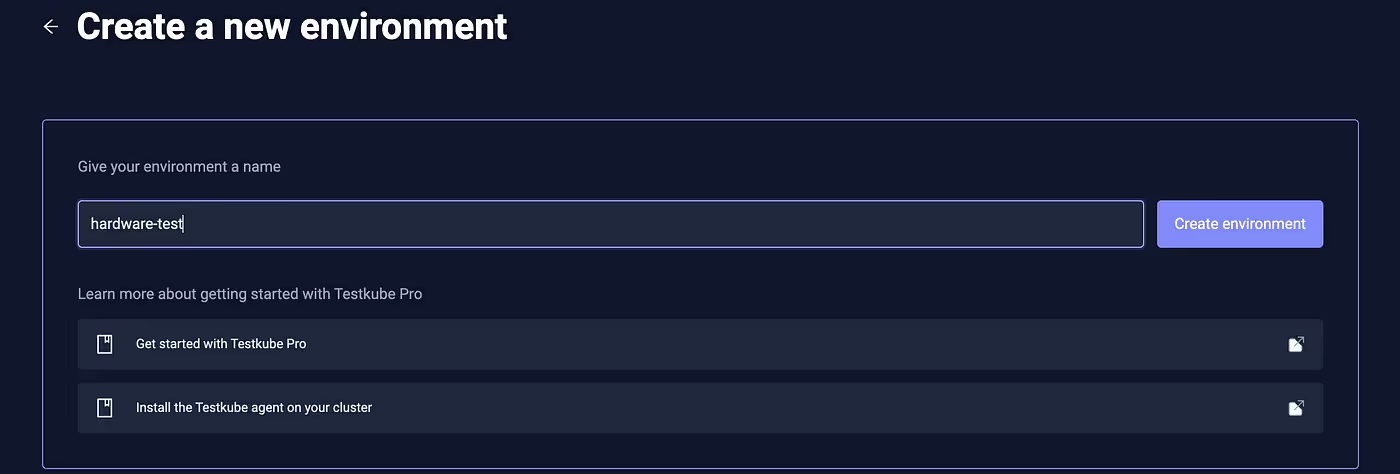
Now we select the first option in the modal I have a K8s cluster and on the next screen we give our Environment a name, in this example, I will name it hardware-test.
After we create our Environment, we need to install the Testkube Agent which will connect our Kubernetes cluster with Testkube Pro and make it ready to create and run tests. We do that by running the command on the next screen in our terminal.

The install command will look like this:
testkube pro init --agent-token TOKEN --org-id ORG_ID --env-id ENV_IDThe installation might take a little longer due to the GKE Autopilot’s node provisioning process, which occurs simultaneously with the Testkube installation, adding a few minutes of overhead. If the command fails due to timeout, just re-run it again.
Creating the GPU test
Now that our Kubernetes cluster is set up and connected with Testkube Pro, we’re ready to write a test! Let’s define our test using the TestWorkflow CRD.
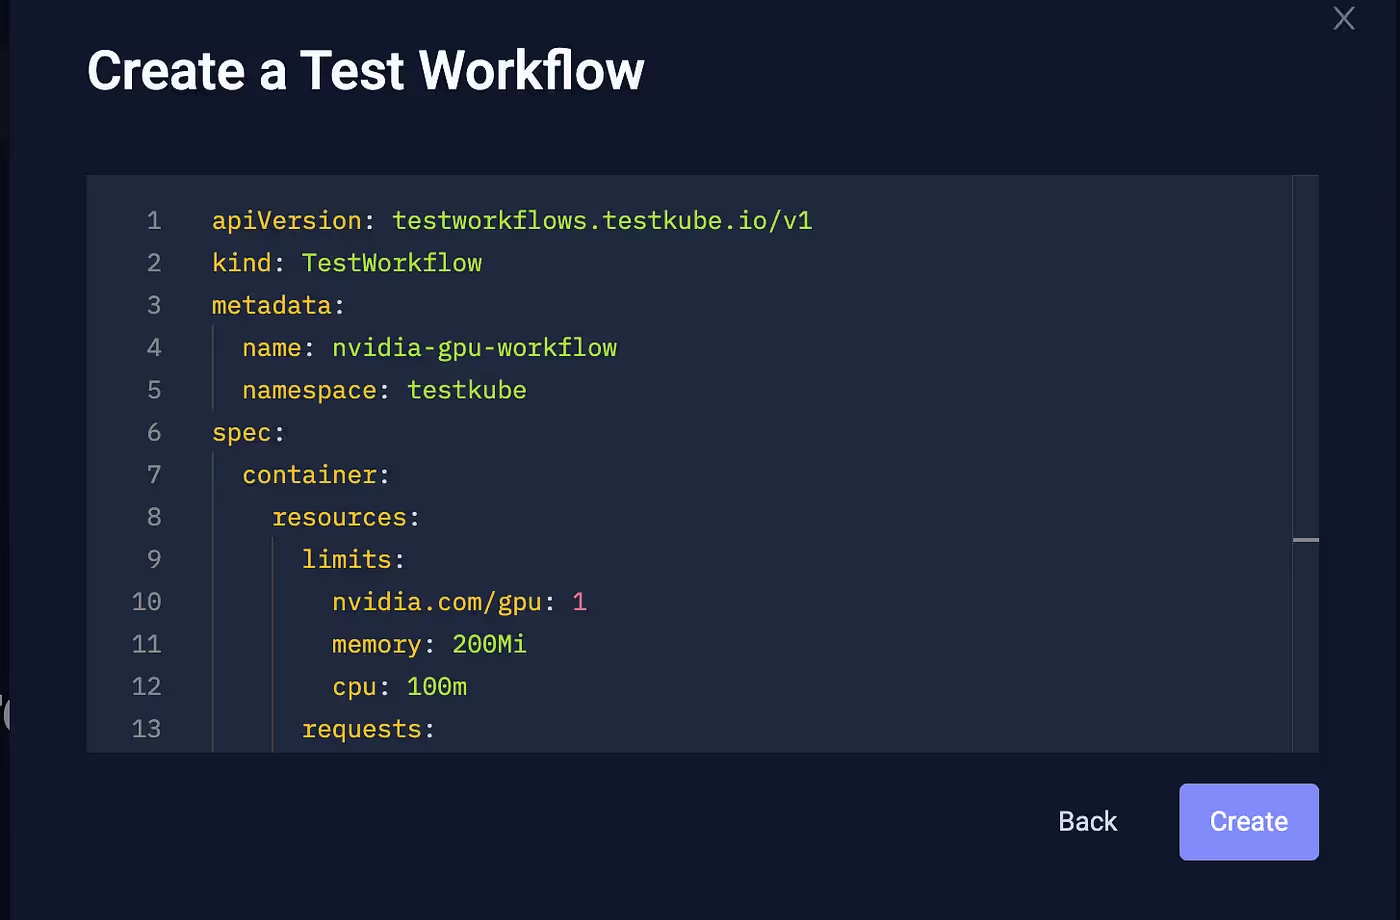
apiVersion: testworkflows.testkube.io/v1
kind: TestWorkflow
metadata:
  name: nvidia-gpu-workflow
  namespace: testkube
spec:
  container:
    resources:
      limits:
        nvidia.com/gpu: 1
        memory: 200Mi
        cpu: 100m
      requests:
        nvidia.com/gpu: 1
        memory: 200Mi
        cpu: 100m
  pod:
    nodeSelector:
      cloud.google.com/gke-accelerator: nvidia-tesla-t4
  steps:
    - name: Run test
      run:
        image: nvcr.io/nvidia/k8s/cuda-sample:vectoradd-cuda10.2
This test has a single step that executes a Docker image which does matrix calculations using CUDA. The test will fail if the Pod running it does not run on a Node with a GPU or if the CUDA Toolkit is not installed.
The test requests an NVIDIA GPU in the resources section and also specifies it should run on a Node which has a GPU of the class nvidia-tesla-t4 in the nodeSelector field.
When we specify the nodeSelector with the label cloud.google.com/gke-accelerator: nvidia-tesla-t4, this instructs GKE Autopilot to provision a Node with the Tesla T4 GPU.
We can now either apply the test using kubectl apply or create it via the UI.
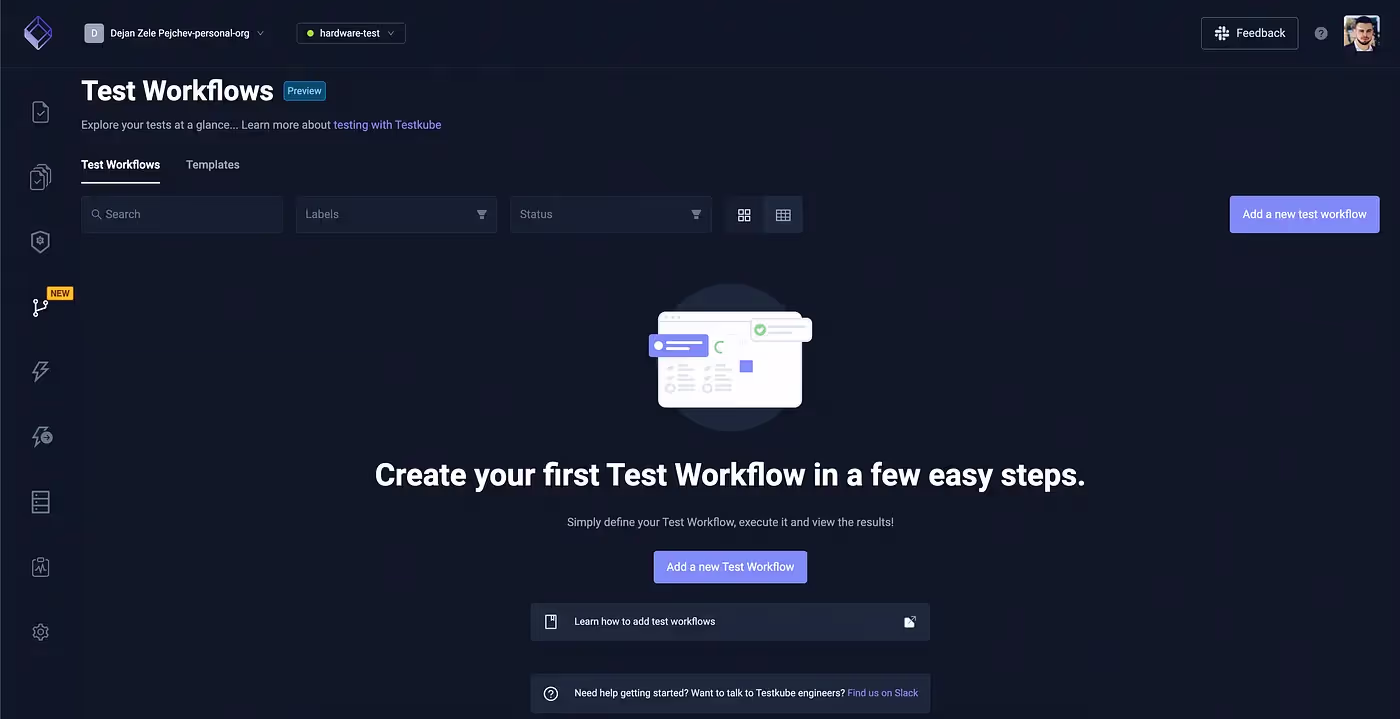
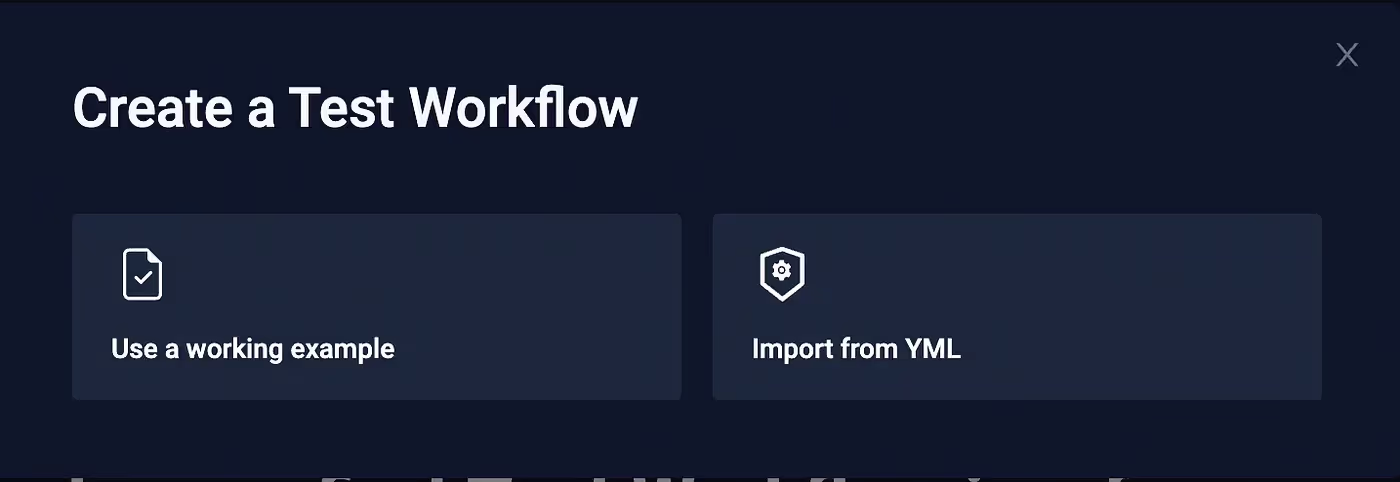
For simplicity, we will proceed via the Testkube UI. Navigate to the Test Workflows tab on the left navigation bar (fourth option from the top), click on Add a new Test Workflow, choose Import from YML, and paste in the TestWorkflow CRD YAML.
Running the GPU test
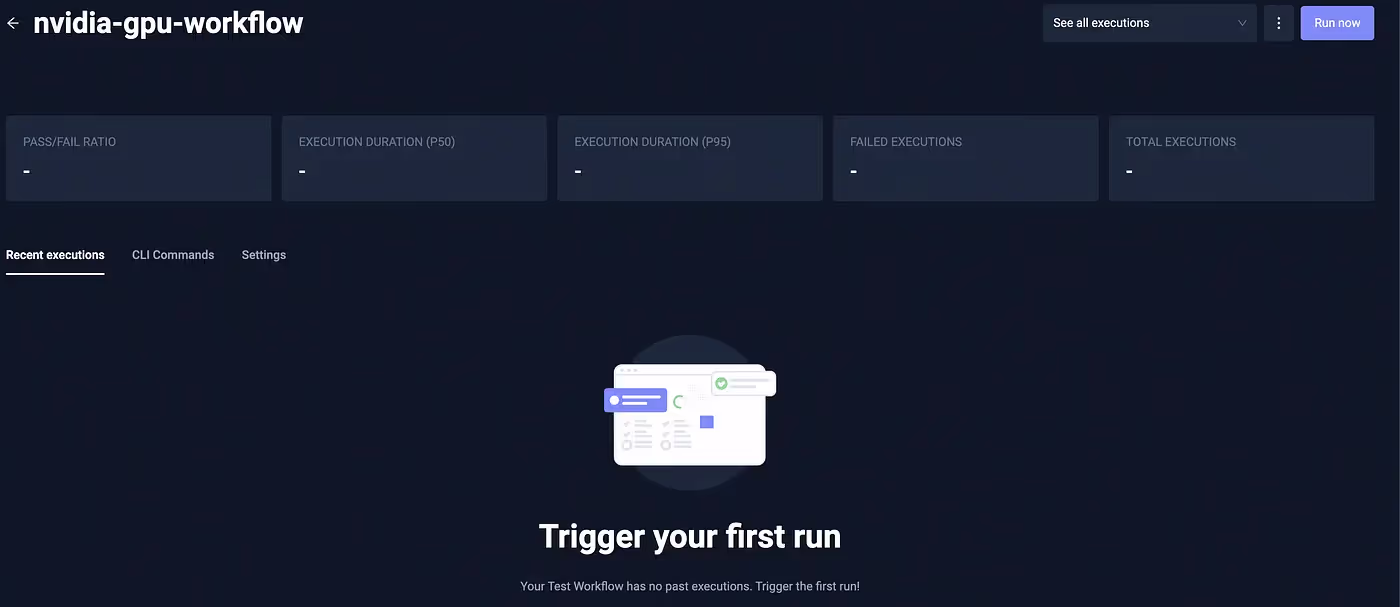
With the GPU test created, the final step is executing it successfully. Open the test workflow and click the Run now button to schedule the test workflow execution within your Kubernetes cluster.

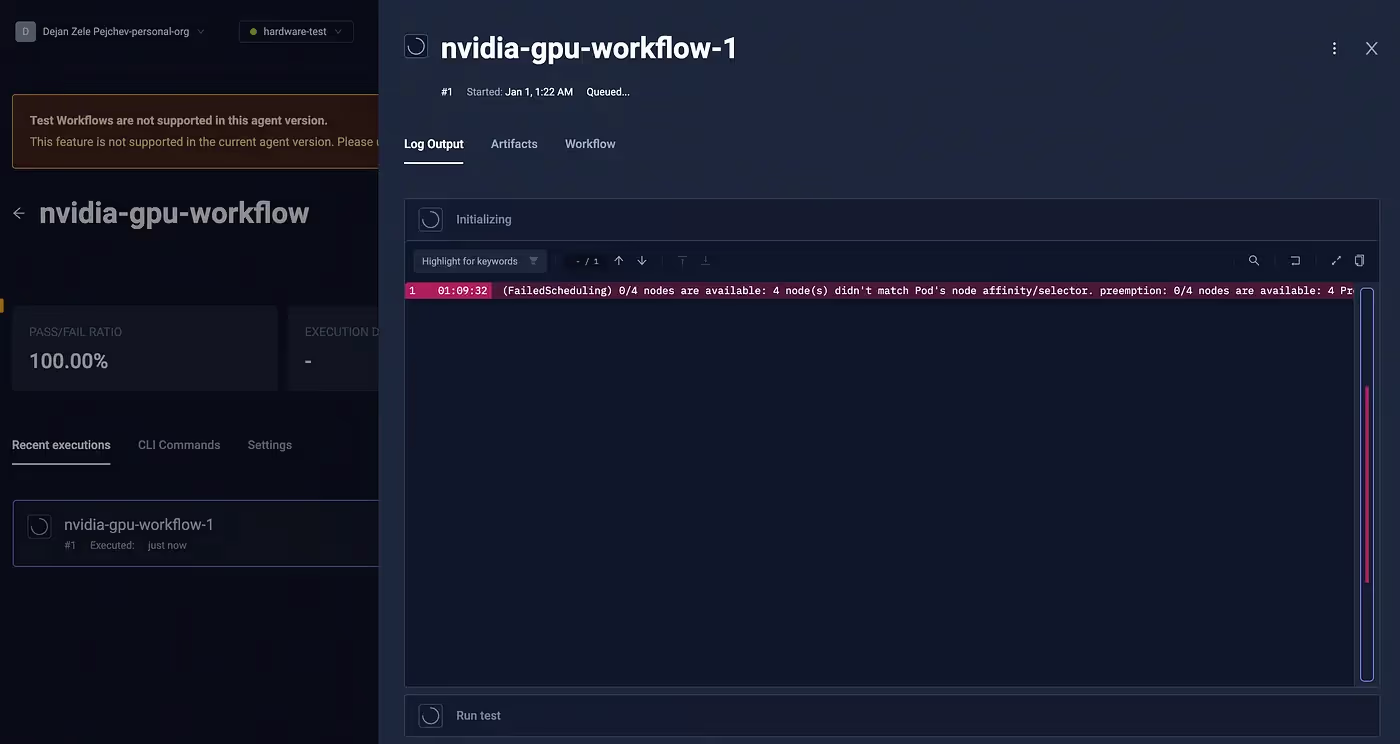
The execution will first warn that the Test Job cannot be scheduled because it cannot find a Node with the defined constraints, but under the hood, GCPis already provisioning us a Node that matches our specification, and as soon as it is available, the test will get scheduled.
By entering kubectl get nodes in our terminal, you can observe that a new Node is being provisioned and will soon be in Ready state…
kubectl get nodes

NAME                                                  STATUS     ROLES    AGE   VERSION
gk3-testkube-hardware-te-nap-3n3r2z48-b112ed1f-t642   NotReady   <none>   23s   v1.27.8-gke.1067004
gk3-testkube-hardware-test-clu-pool-2-065e6fba-jj6g   Ready      <none>   20m   v1.27.8-gke.1067004
gk3-testkube-hardware-test-clu-pool-2-c9d9e627-8zzw   Ready      <none>   20m   v1.27.8-gke.1067004
gk3-testkube-hardware-test-clu-pool-2-f11095c0-kmxv   Ready      <none>   23m   v1.27.8-gke.1067004
gk3-testkube-hardware-test-clu-pool-2-f11095c0-z5gb   Ready      <none>   20m   v1.27.8-gke.1067004
kubectl describe node gk3-testkube-hardware-te-nap-3n3r2z48-b112ed1f-t642
Name: gk3-testkube-hardware-te-nap-3n3r2z48-b112ed1f-t642
Roles: <none>
Labels: addon.gke.io/node-local-dns-ds-ready=true
beta.kubernetes.io/arch=amd64
beta.kubernetes.io/instance-type=n1-standard-1
beta.kubernetes.io/os=linux
cloud.google.com/gke-accelerator=nvidia-tesla-t4
cloud.google.com/gke-accelerator-count=1
cloud.google.com/gke-boot-disk=pd-balanced
cloud.google.com/gke-container-runtime=containerd
cloud.google.com/gke-cpu-scaling-level=1
cloud.google.com/gke-gcfs=true
cloud.google.com/gke-gpu-driver-version=default
cloud.google.com/gke-image-streaming=true
cloud.google.com/gke-logging-variant=DEFAULT
cloud.google.com/gke-max-pods-per-node=32
cloud.google.com/gke-netd-ready=true
cloud.google.com/gke-nodepool=nap-3n3r2z48
cloud.google.com/gke-os-distribution=cos
cloud.google.com/gke-provisioning=standard
cloud.google.com/gke-stack-type=IPV4
cloud.google.com/machine-family=n1
cloud.google.com/private-node=false
failure-domain.beta.kubernetes.io/region=us-east1
failure-domain.beta.kubernetes.io/zone=us-east1-c
iam.gke.io/gke-metadata-server-enabled=true
kubernetes.io/arch=amd64
kubernetes.io/hostname=gk3-testkube-hardware-te-nap-3n3r2z48-b112ed1f-t642
kubernetes.io/os=linux
node.kubernetes.io/instance-type=n1-standard-1
node.kubernetes.io/masq-agent-ds-ready=true
topology.gke.io/zone=us-east1-c
topology.kubernetes.io/region=us-east1
topology.kubernetes.io/zone=us-east1-cAs soon as the Node becomes ready, our Test will execute and we can observe the logs.
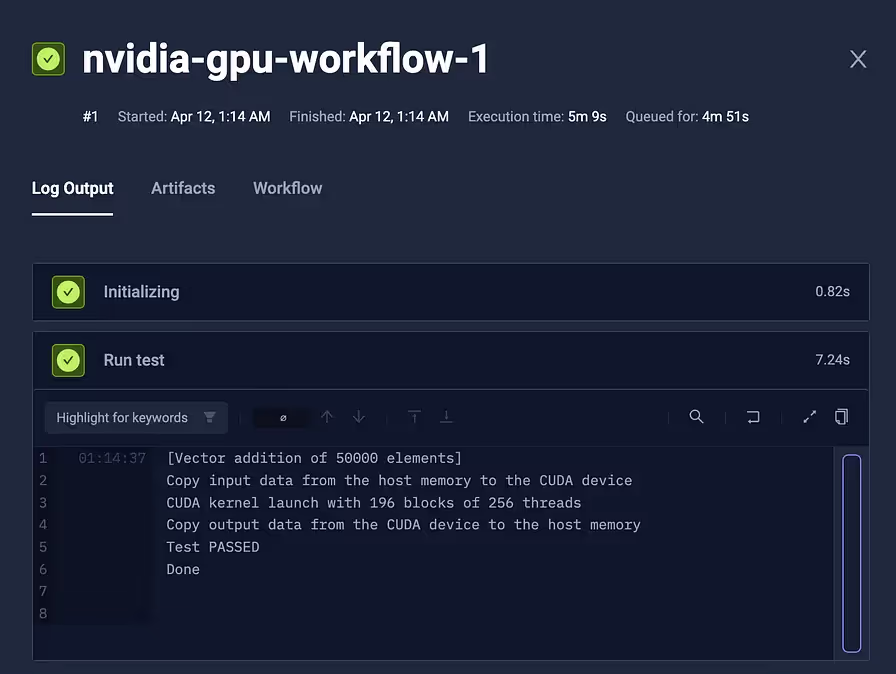
And voilà, we have just executed a Test that requires an NVIDIA Tesla T4 GPU. Because we have access to the underlying hardware component, we can run various benchmarks, now it is up to you to become creative!
Have fun testing your hardware components!
* * *
Thank you for reading my article on Testkube’s Test Workflows feature and testing hardware components. I hope you have enjoyed reading it as much as I have enjoyed writing it.
Follow me on LinkedIn, Medium, or Twitter for more announcements and cool daily programming tips & tricks.
If you want to get in touch, discuss Golang, Kubernetes, cool tech… I am usually the most responsive on LinkedIn.
About Testkube
Testkube is the open testing platform for AI-driven engineering teams. It runs tests directly in your Kubernetes clusters, works with any CI/CD system, and supports every testing tool your team uses. By removing CI/CD bottlenecks, Testkube helps teams ship faster with confidence.
Get Started with a trial to see Testkube in action.