
Table of Contents
Try Testkube instantly in our sandbox. No setup needed.
Unlock Better Testing Workflows in Kubernetes — Try Testkube for Free


Table of Contents
Executive Summary
Delivering high-quality applications is extremely important - and as organizations embrace containerization and orchestration platforms like Kubernetes to achieve scalability and deployment flexibility, ensuring the reliability and functionality of our apps, infrastructure, and APIs becomes even more crucial.
REST Assured is a Java library that provides a domain-specific language (DSL) for writing powerful, maintainable tests for RESTful APIs. However, seamlessly integrating REST Assured tests into a Kubernetes environment can be a complex task. That's where Testkube comes in.
What is Testkube? Testkube is a test execution and orchestration framework for Kubernetes that works with any CI/CD system and testing tool you need, empowering teams to deliver on the promise of agile, efficient, and comprehensive testing programs by leveraging all the capabilities of Kubernetes to eliminate CI/CD bottlenecks, perfecting your testing workflow.
If you haven’t used Testkube yet, get started today to start testing your applications in Kubernetes.
In this blog post, we will explore how to run REST Assured tests for your applications deployed in Kubernetes, leveraging the Gradle build tool with Testkube’s native Gradle integration. We'll explore how Testkube simplifies the process by orchestrating the test execution, generating detailed reports, and providing valuable insights to streamline your testing efforts in a Kubernetes environment.
Prerequisites
To get started with this tutorial, you’ll need the following:
- A Testkube instance (follow our installation guide)
- A Gradle project (we’ll show you how to write a simple test for it)
Now, without further ado, let’s embark on this testing journey!
Tutorial
Let’s start by writing a simple test using REST Assured. Our project structure will look like this:
├── build.gradle
├── settings.gradle
├── src
│ ├── ExampleApiTest.java
Now, we’ll write a quick test that uses the JSON Placeholder API. We’ll make a simple call, check that we get an OK status, and examine the body of our response:
package testkube;

import io.restassured.RestAssured;
import io.restassured.response.Response;
import org.junit.jupiter.api.Test;
import static io.restassured.RestAssured.*;
import static org.hamcrest.Matchers.*;

public class ExampleApiTest {
    @Test
    public void testGetPosts() {
        RestAssured.baseURI = "https://jsonplaceholder.typicode.com";
        Response response = given()
                .when()
                .get("/posts")
                .then()
                .extract().response();
        response.then().statusCode(200);
        response.then().body("[0].title", equalTo("sunt aut facere repellat provident occaecati excepturi optio reprehenderit"));
    }

    @Test

    public void testGetComments() {
        RestAssured.baseURI = "https://jsonplaceholder.typicode.com";
        Response response = given()
                .when()
                .get("/comments")
                .then()
                .extract().response();
        response.then().statusCode(200);
        response.then().body("[0].name", equalTo("id labore ex et quam laborum"));
   }
}
Our project will live in a Git repository, so we can tell Testkube where to find it when creating our test. This comes in extremely handy when working within a team or organization, especially under best CI/CD practices. To learn more about setting up Testkube with your existing tools, depending on your software development approach, check out our documentation.
Now that we have our tests ready, let’s create them within Testkube. For that, type in the following command:
kubectl testkube create test --git-uri https://github.com/alelthomas/gradle-testkube.git --type gradle/test --name testkube-gradle-example --git-branch mainAnd done! Our test is created. Pretty simple, huh? Let’s run it:
kubectl testkube run test testkube-gradle-exampleOur test will immediately start running, and we can follow the execution from our terminal by using the following command:
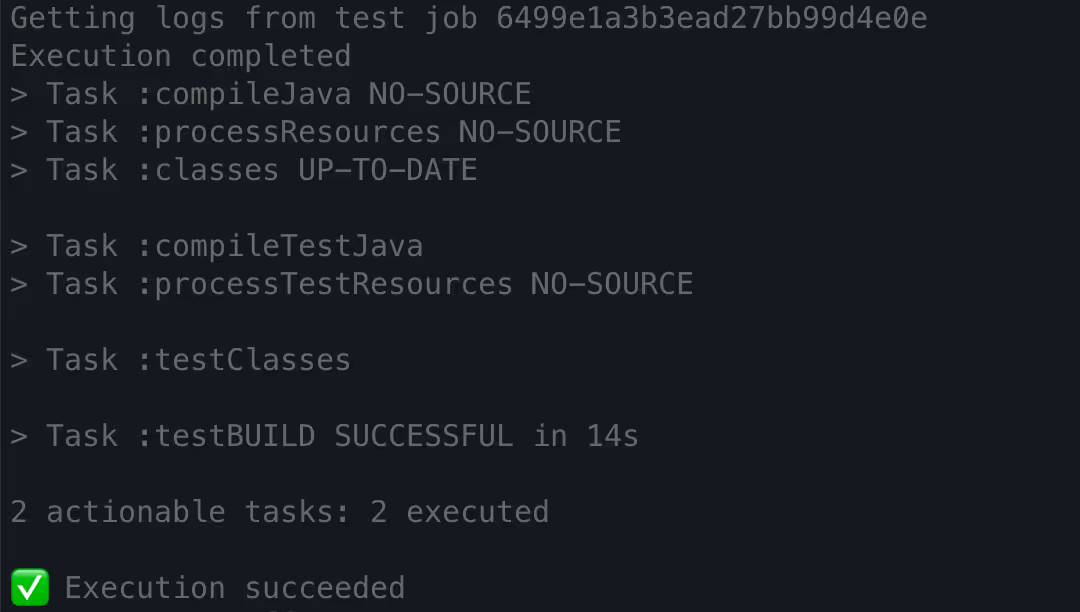
kubectl testkube get execution testkube-gradle-example-1This will show us our real-time logs as our tests are being run - and as you’ll be able to see from our output, our tests ran successfully!

And that’s it! Running your Java tests for your Kubernetes apps built with Grade is as easy as handing them over to Testkube to do the heavy-lifting.
Get started with Gradle testing in Kubernetes
In this blog post, we took a look at how to setup and run REST Assured tests within Kubernetes using the Gradle integration with Testkube. As you can see, Testkube can truly simplify the testing execution process so you don’t have to worry about container intricacies - helping you establish a robust testing pipeline that ensures the integrity and reliability of your applications and APIs.
Why not give it a go yourself? Sign up to Testkube and try one of the examples or head over to our documentation. If you get stuck or have questions, we’re here to help! Reach out to us on Slack. We’re eager to hear how you use our integrations.


About Testkube
Testkube is a cloud-native continuous testing platform for Kubernetes. It runs tests directly in your clusters, works with any CI/CD system, and supports every testing tool your team uses. By removing CI/CD bottlenecks, Testkube helps teams ship faster with confidence.
Explore the sandbox to see Testkube in action.


