Table of Contents
Start your free trial.
Start your free trial.

Start your free trial.


Table of Contents
Executive Summary
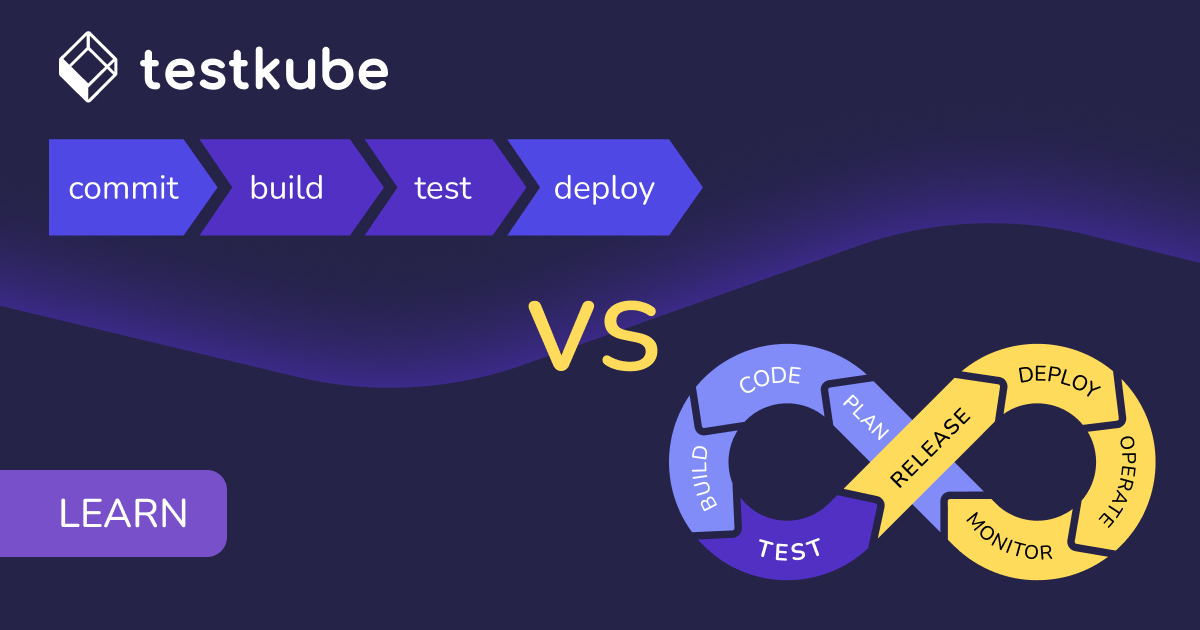
A lack of proper integration testing in CI/CDs can lead to halted deployments and disrupted end-user experiences. Therefore, integration testing is crucial as it ensures that individual components in a system work well together.
One of the popular tools for building CI/CD pipelines to integrate and deploy your applications is GitHub Actions. They not only integrate with GitHub repositories but also provide great flexibility to build custom workflows. By defining workflows in simple YAML files, GitHub Actions automates tasks such as code compilation, testing, and deployment. Read more about GitHub actions.
In this blog post, we’ll show how you can leverage GitHub Actions along with Testkube to run tests as part of your CI/CD pipeline in your Kubernetes cluster environments.
How to Integrate Testkube into Your CI/CD Pipeline for Kubernetes Testing
Testkube is a Kubernetes native testing framework designed to execute and orchestrate testing workflows for cloud-native applications. It allows you to bring your chosen testing tool, integrate it out of the box with Testkube, and schedule all of the tests into your Kubernetes cluster while providing all the visibility into your tests and flexibility when building and executing these tests from your CI/CD.
Regardless of the CI/CD tool you’re using, Testkube provides you with multiple integration options:
- Testkube GitHub Action: If your CI/CD pipeline is built using GitHub actions, then using Testkube’s GitHub Action is the easiest way to get started.
- Testkube Docker CLI: If you’re using any other CI/CD tool like Jenkins, Circle CI, etc., you can leverage Testkube’s Docker CLI to run tests as part of your CI/CD pipeline.
- Testkube in GitOps: If you’ve implemented GitOps, you can integrate Testkube with ArgoCD and Flux to add Testkube tests to your GitOps workflow.
Why Use Testkube for CI/CD Testing in Kubernetes Environments
Integrating Testkube into your CI/CD pipeline simplifies and expedites the testing process, offering a suite of benefits. Without Testkube, testing becomes complex and time-consuming, hindering the effective utilization of Kubernetes resources. Below are some of the benefits of using Testkube in CI/CD pipelines:
- Execution and Orchestration: Testkube orchestrates the execution of your testing workflows, saving time and effort on their definition.
- Speed and Scalability: It ensures fast and reliable test results that can scale.
- Seamless Integration: Testkube easily integrates with CI/CD pipelines, simplifying implementation.
- Enhanced Security: Testkube ensures your tests are run securely by preventing unnecessary exposure in the CI/CD pipeline, bolstering overall system security.
Now that we know the benefits of using Testkube in CI/CD pipelines, let us look at how we can use GitHub actions with Testkube for a seamless testing experience.
Automated Testing in GitHub Actions Using Testkube
As discussed earlier, GitHub Actions have become one of the most popular ways by which developers create workflows and CI/CD pipelines. To understand how Testkube integrates with GitHub actions, we’ve designed a small workflow.
We have a GitHub repository configured with a GitHub Action that triggers when a PR is created or you commit to an existing PR. Within the Action, we leverage Testkube’s GitHub plugin to run and execute tests from the repository. Depending on the result of the test, the PR will be blocked from merging if the test fails or allowed to merge if it passes.
Pre-requisites
- GitHub account & repository with GitHub Actions enabled.
- Kubernetes cluster - we’re using a Minikube cluster
- Testkube API token, Org ID, and Environment ID
Once the prerequisites are in place, you should have a target Kubernetes cluster ready with a Testkube agent configured on it. You should also have a GitHub repository with the test files as well as the GitHub workflow configured.
Note: To allow Testkube to run the tests, you need to create the API token, refer to our API Token document.
To find these details, simply log in to your Teskube Dashboard, and select Settings in the menu bar.

Save all of these as secrets in your GitHub repository, we will reference them in the workflow file that we create.

All the required files are present in this GitHub repository.
Creating a Testkube Test Workflow
The first step is to create a test. We’re creating a simple k6 test that will check the response time for a website.
import http from 'k6/http';
import { check, sleep } from 'k6';

export let options = {
  vus: 1, // Virtual Users
  duration: '10s', // Duration of the test
};

export default function () {
  // Send an HTTP GET request to the website
  let response = http.get('https://testkube.io'); // Replace with your website URL

  // Check if the response time is less than 1000 milliseconds
 check(response, {
    'Response time is less than 1000 milliseconds': (r) => r.timings.duration < 1000, // Check if response time is less than 1000 milliseconds
  });

  // Add a sleep period (in this case, 1 second) between requests
  sleep(1);
}
The above test checks for the response time, and, if it is less than 1 second, it fails the test; otherwise, it passes it. This code can be found here.
Now let’s create a Test Workflow that runs the above test:
kind: TestWorkflow
apiVersion: testworkflows.testkube.io/v1
metadata:
  name: k6-check
  namespace: testkube
  labels:
    docs: example
spec:
  content:
    git:
      uri: https://github.com/cerebro1/Testkube-Ephemeral-Environment
      revision: main
      paths:
        - k6/testkube.js
  container:
    workingDir: /data/repo/k6/
  steps:
    - name: Run test
      container:
        image: grafana/k6:0.49.0
      shell: |
        k6 run testkube.js
      artifacts:
        workingDir: /data
        paths:
          - '*.html'
This TestWorkflow will execute the k6 test testkube.js we created above, it is also available in the same repository.
How to Configure GitHub Actions Workflows for Testkube Integration
After the test is created, we need to create a new Github action that runs our Workflow for each Pull Request. In the main.yaml file in the workflow folder, add the following code:
name: Ephemeral Test Using Testkube
on:
  pull_request:

jobs:
  testkube-test:
    runs-on: ubuntu-latest
    steps:
      - name: Checkout Code
        uses: actions/checkout@v2

      - name: Run Testkube Test
        uses: kubeshop/setup-testkube@v1
        with:
          organization: ${{ secrets.TESTKUBE_ORG_ID }}
          environment: ${{ secrets.TESTKUBE_ENV_ID }}
          token: ${{ secrets.TESTKUBE_API_TOKEN }}

      - run: |
          testkube create testworkflow --name testworkflow-actions -f test-workflow.yaml
          testkube run tw testworkflow-actions
The above workflow does the following things:
- Creates and executes the k6 test using `kubeshop/setup-testkube@v1` on the cluster with organization, environment, and API token. Please verify that your token has not expired before running the test.
- Based on the result, the status will be updated in the PR. If the test passes, the merge option will be enabled, and anyone can merge it. However, if the test fails, the merge will not be available—we’ll configure a branch protection rule to prevent the PR from being merged if the run fails.
- The first few lines of the file define a new PR, which triggers all of this.
- All of this happens when a new PR is created which is defined in the first few lines of the file.
We’ve saved the workflow file to our GitHub repo. With this, our basic setup is complete and we can start running tests.
Triggering Kubernetes Tests with GitHub Actions and Testkube
To check if everything is working correctly, raise a new PR in the repository with some changes in a new branch. You’ll see that your action is triggered almost immediately.

In the background, Testkube will create a TestWorkflow which will run k6 test on the Kubernetes cluster. Click on the Actions workflow to view the details.

Head over to your Testkube Dashboard, and you will see a new Test Workflow is created and is running.

The Test Workflow has executed successfully and the k6 test has run on the Kubernetes cluster. Let us check the status in GitHub Action of the workflow.

If the Test Workflow is created successfully, our GitHub action will update the status in the PR, and a user can merge it.

However, if the check fails, GitHub action will update the workflow status as failed in the PR. You can see that merging is blocked because of the branch protection rule that we have created which prevents merge if the test fails.
With this example, we have seen how easy it is to configure Testkube with GitHub actions. Advanced scenarios can be performed by tweaking the workflow and configuring your repositories based on your requirements.
Getting Started with CI/CD Test Automation Using GitHub Actions and Testkube
In this blog post, we looked at the importance of integration testing in CI/CD pipelines and we also learned how Testkube integrates with GitHub actions, which is one of the popular tools for designing CI/CD workflows. We created a simple workflow and were able to integrate a k6 test using Testkube.
Refer to our documentation on other ways to leverage Testkube for your CI/CD needs and try it today.
Try out the various tests supported in Testkube and witness firsthand how it simplifies and empowers your testing process with its Kubernetes-native capabilities.
Join our Slack community for guidance and support.
About Testkube
Testkube is the open testing platform for AI-driven engineering teams. It runs tests directly in your Kubernetes clusters, works with any CI/CD system, and supports every testing tool your team uses. By removing CI/CD bottlenecks, Testkube helps teams ship faster with confidence.
Get Started with a trial to see Testkube in action.
.png)